In early January of 2021, Adam Savage put up a video on his YouTube channel in which he mentioned that a prop he made for the movie Galaxy Quest was available for sale online. I was immediately curious and looked it up.
I had recently experienced a minor financial windfall and was looking for something to get for myself as a gift, so this really was kind of a perfect choice. It's from one of my favorite movies, made by one of my favorite makers, and there's one more detail that really sealed the deal for me, but you're going to have to read ahead for that.
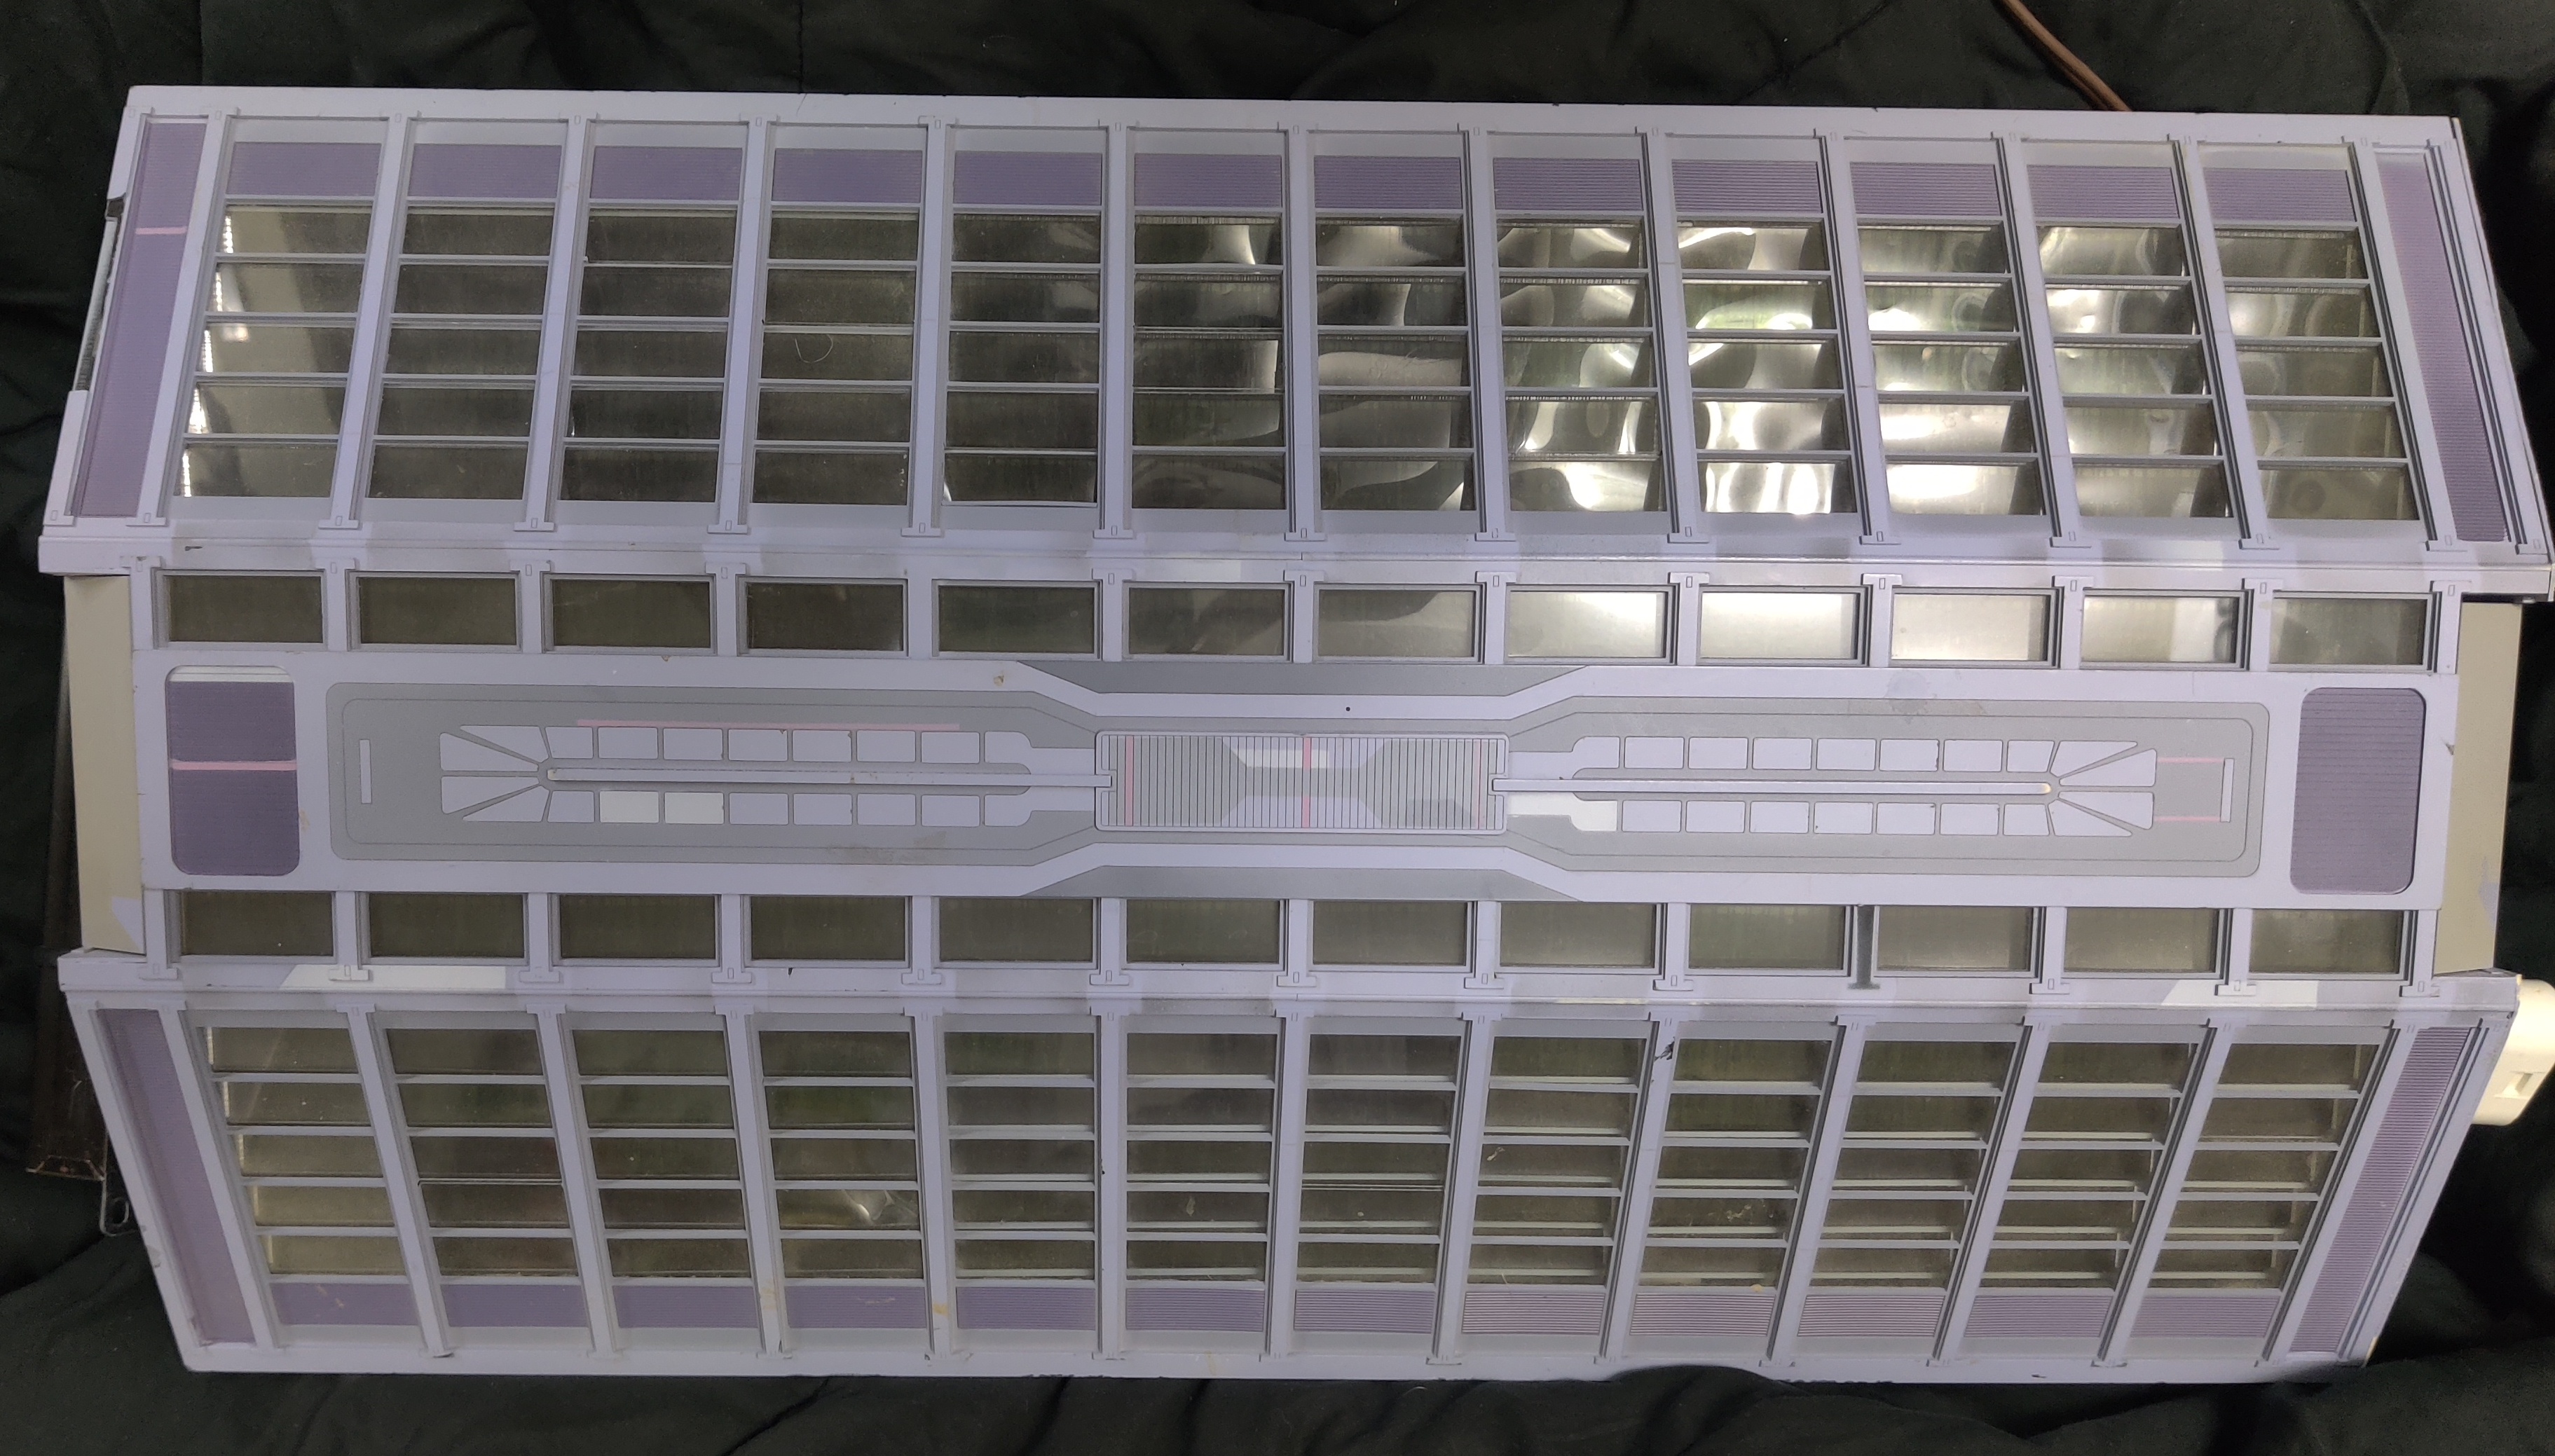
Because of the then-ongoing pandemic, it took a little while to arrive, but when it did, I was quite pleased. Apart from a little dust (some of which is inside the piece and maybe impossible to remove), it's quite clean and in nice shape. The construction is pretty simple, seemingly mostly made with laser-cut acrylic. A lot of the front detail is cut into the plastic itself, further enhanced with -- I assume -- paint.
I had known from the listing that the piece was wired for light, and also that neither the function nor the safety of said wiring was guaranteed. Once given the chance to examine it myself, I understood why. I don't want to impugn anyone's electrical skills here, and I'm sure this wiring job was entirely sufficient for the demands (and deadlines) of filming, but I just didn't feel safe having this setup powered on, or even plugged in, in a house where people are living.
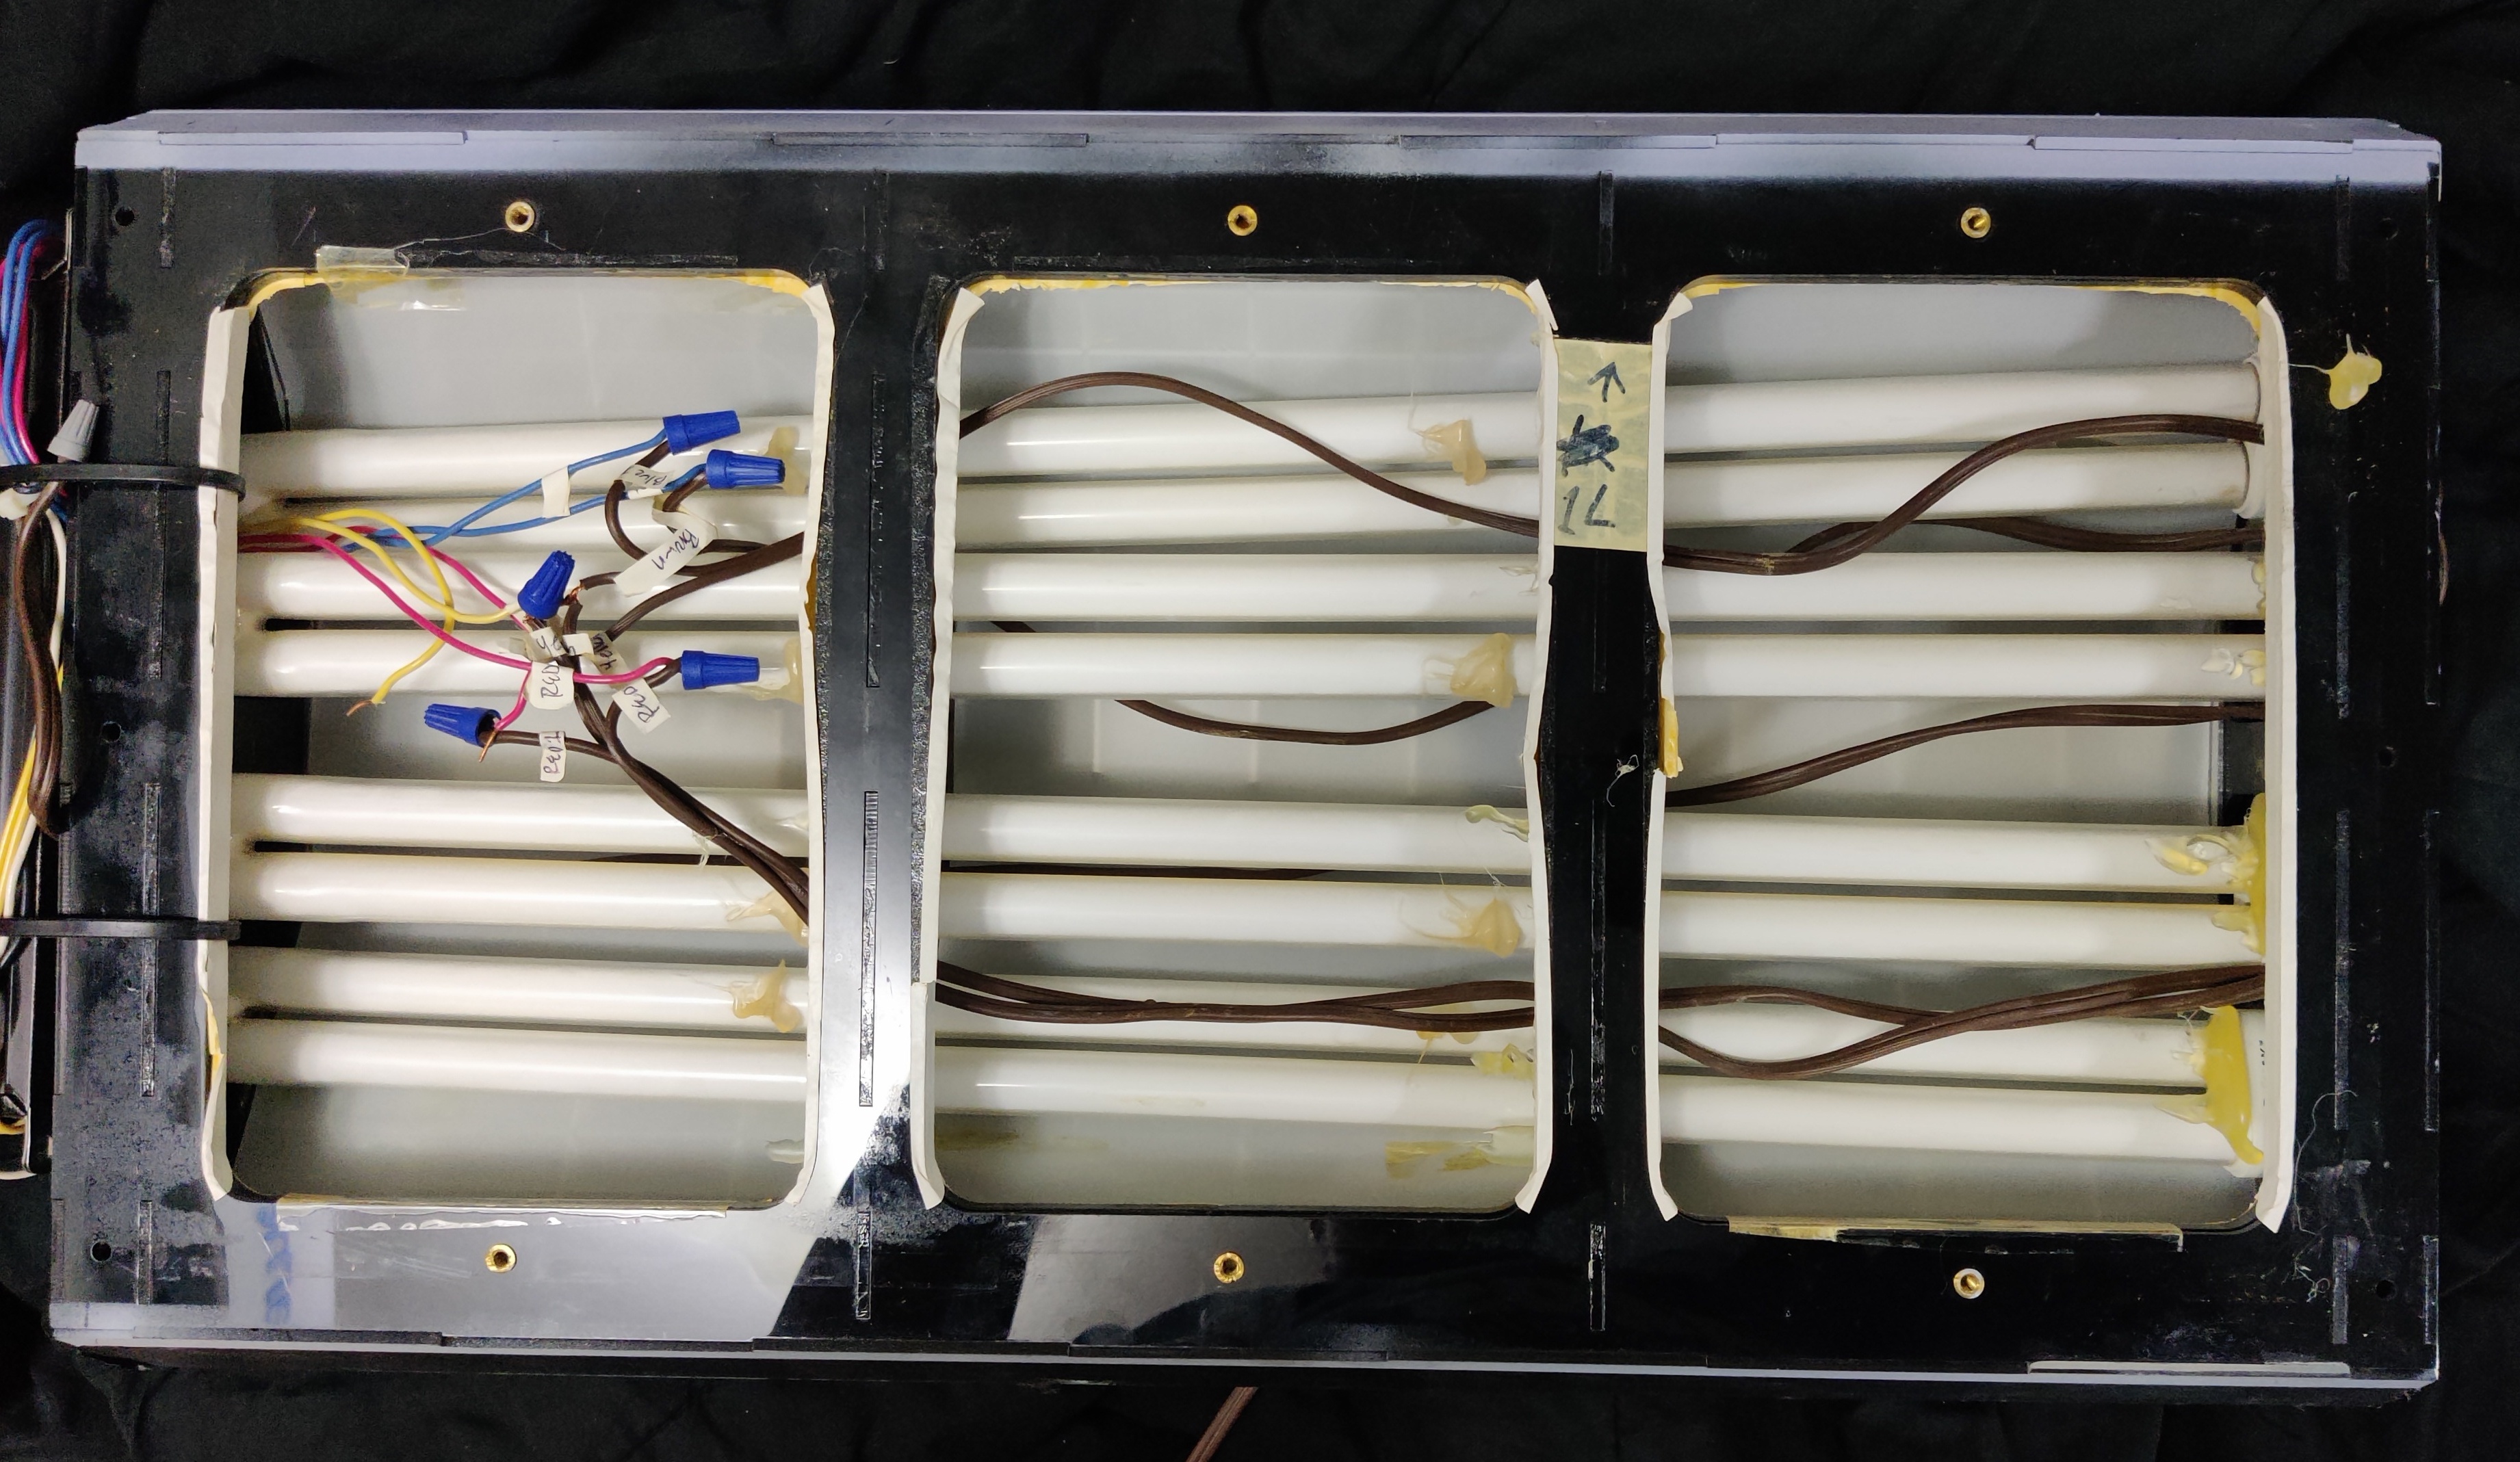
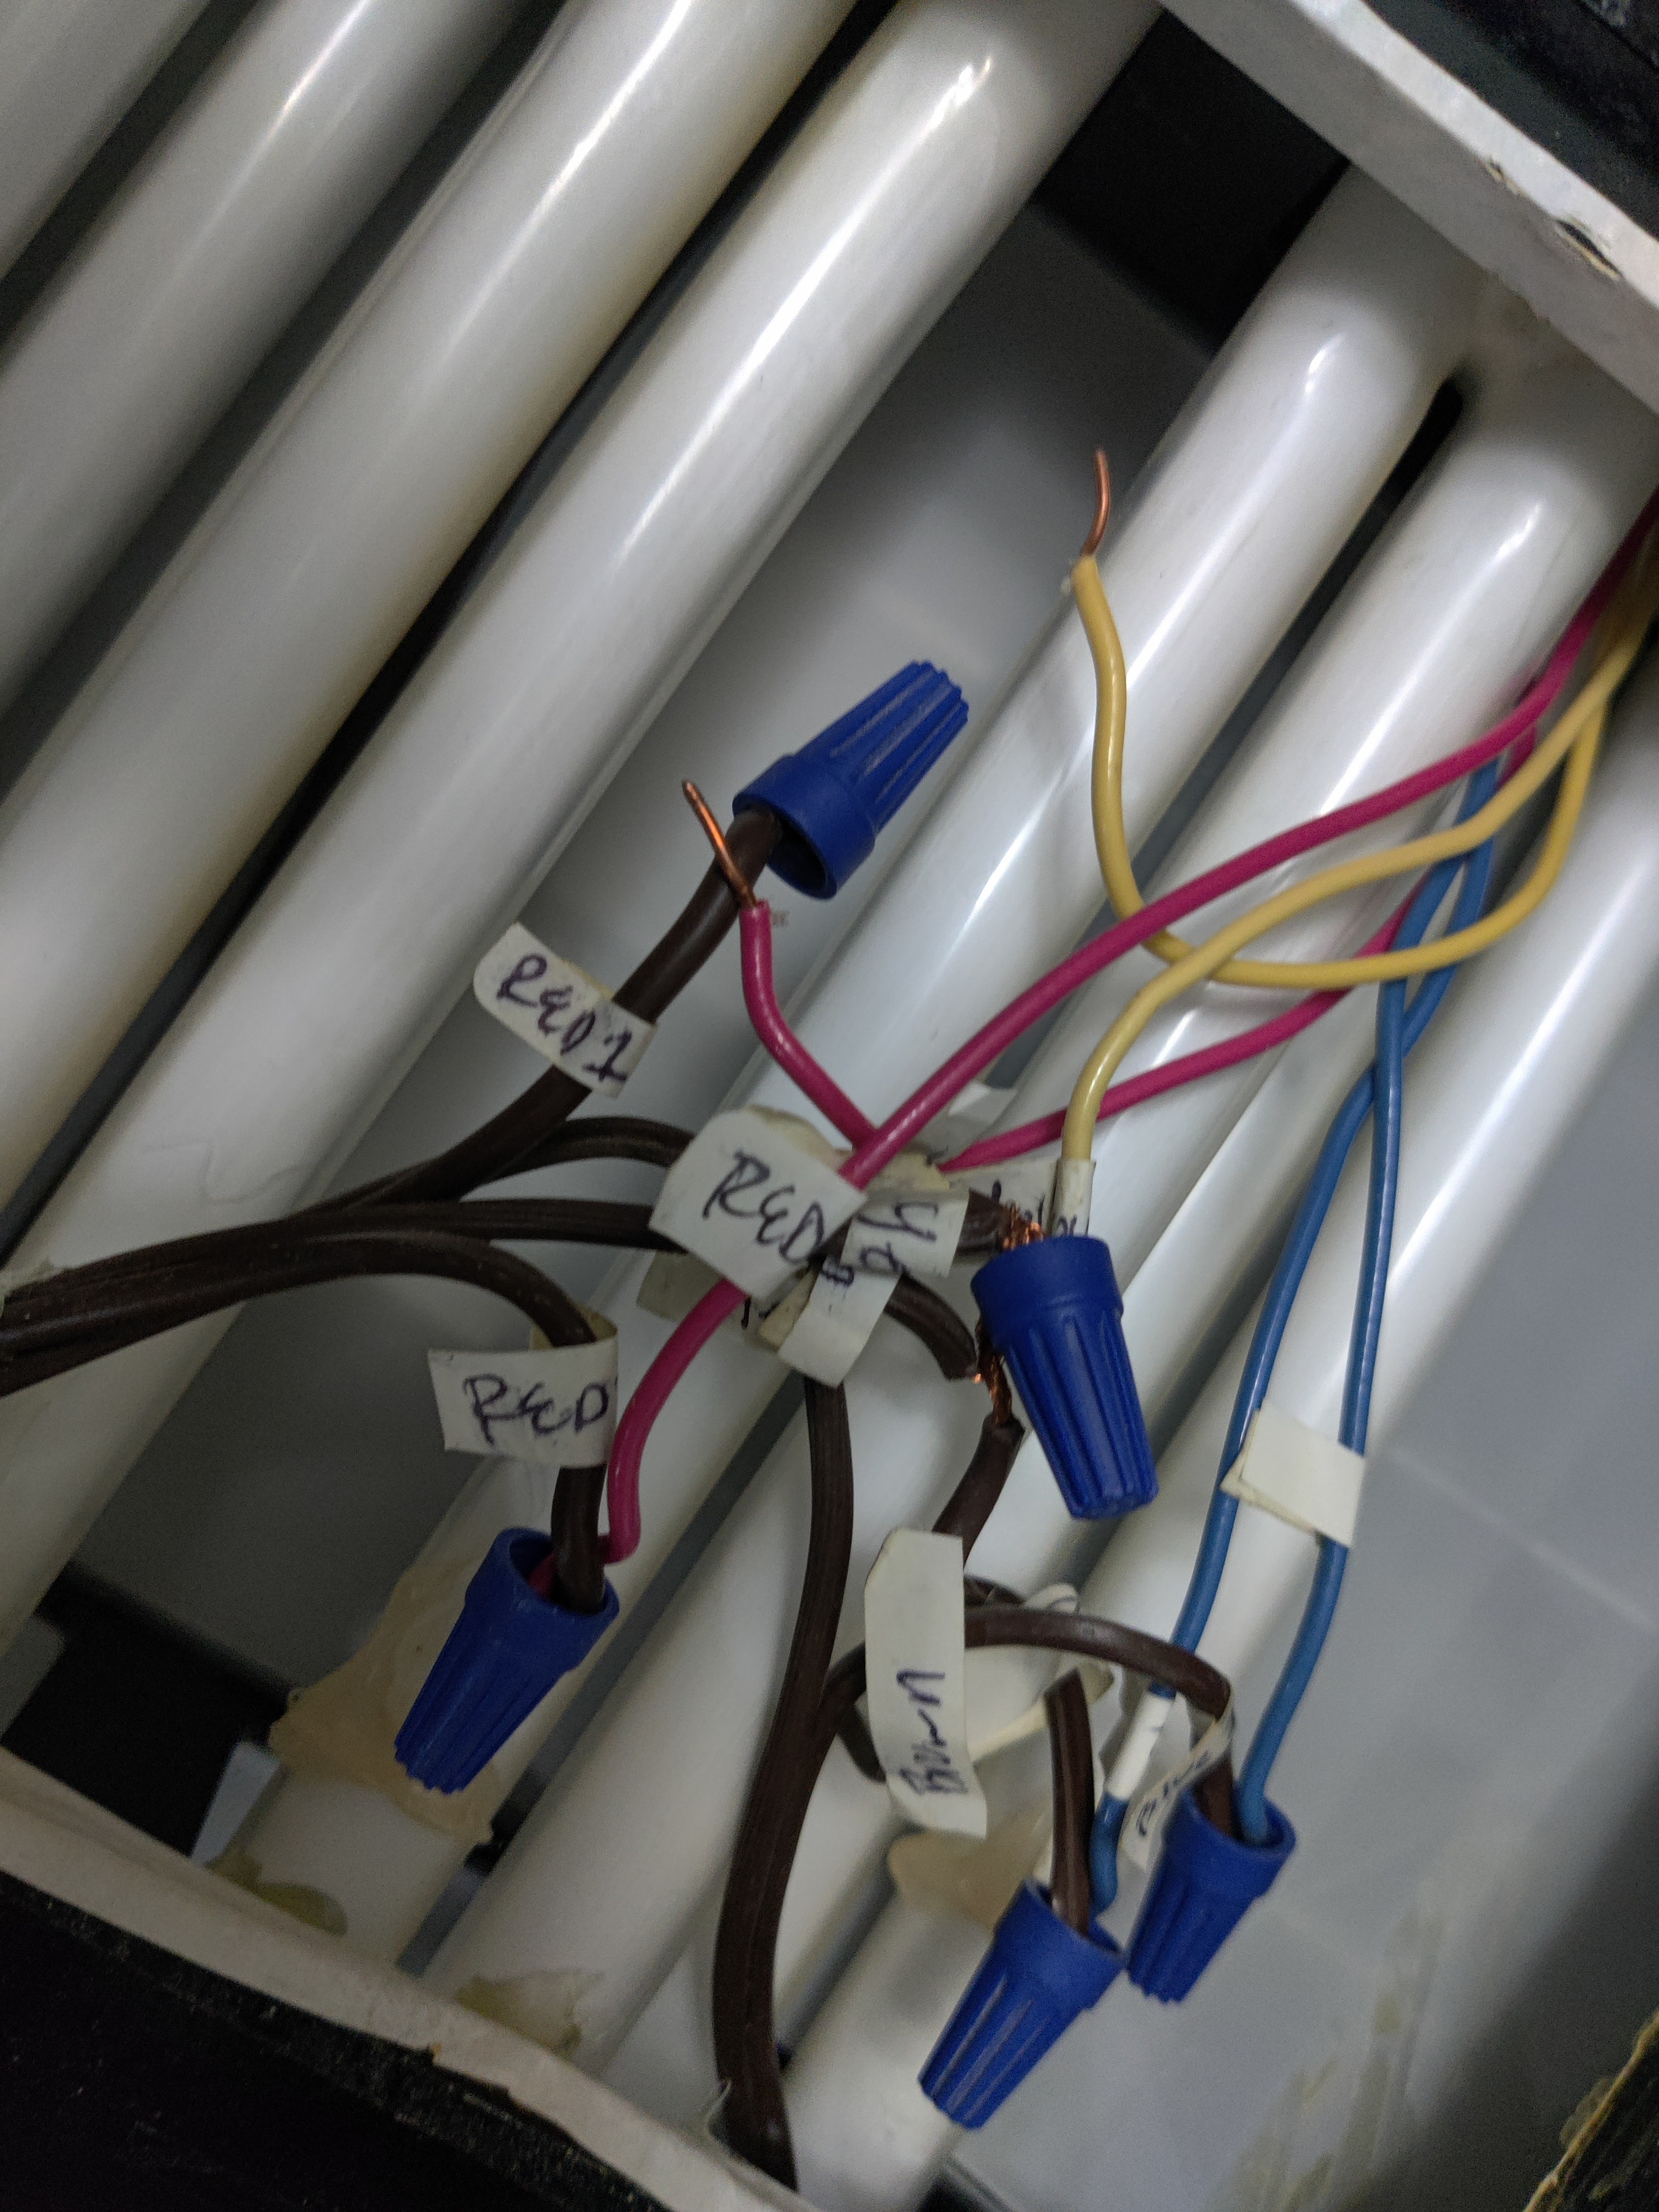
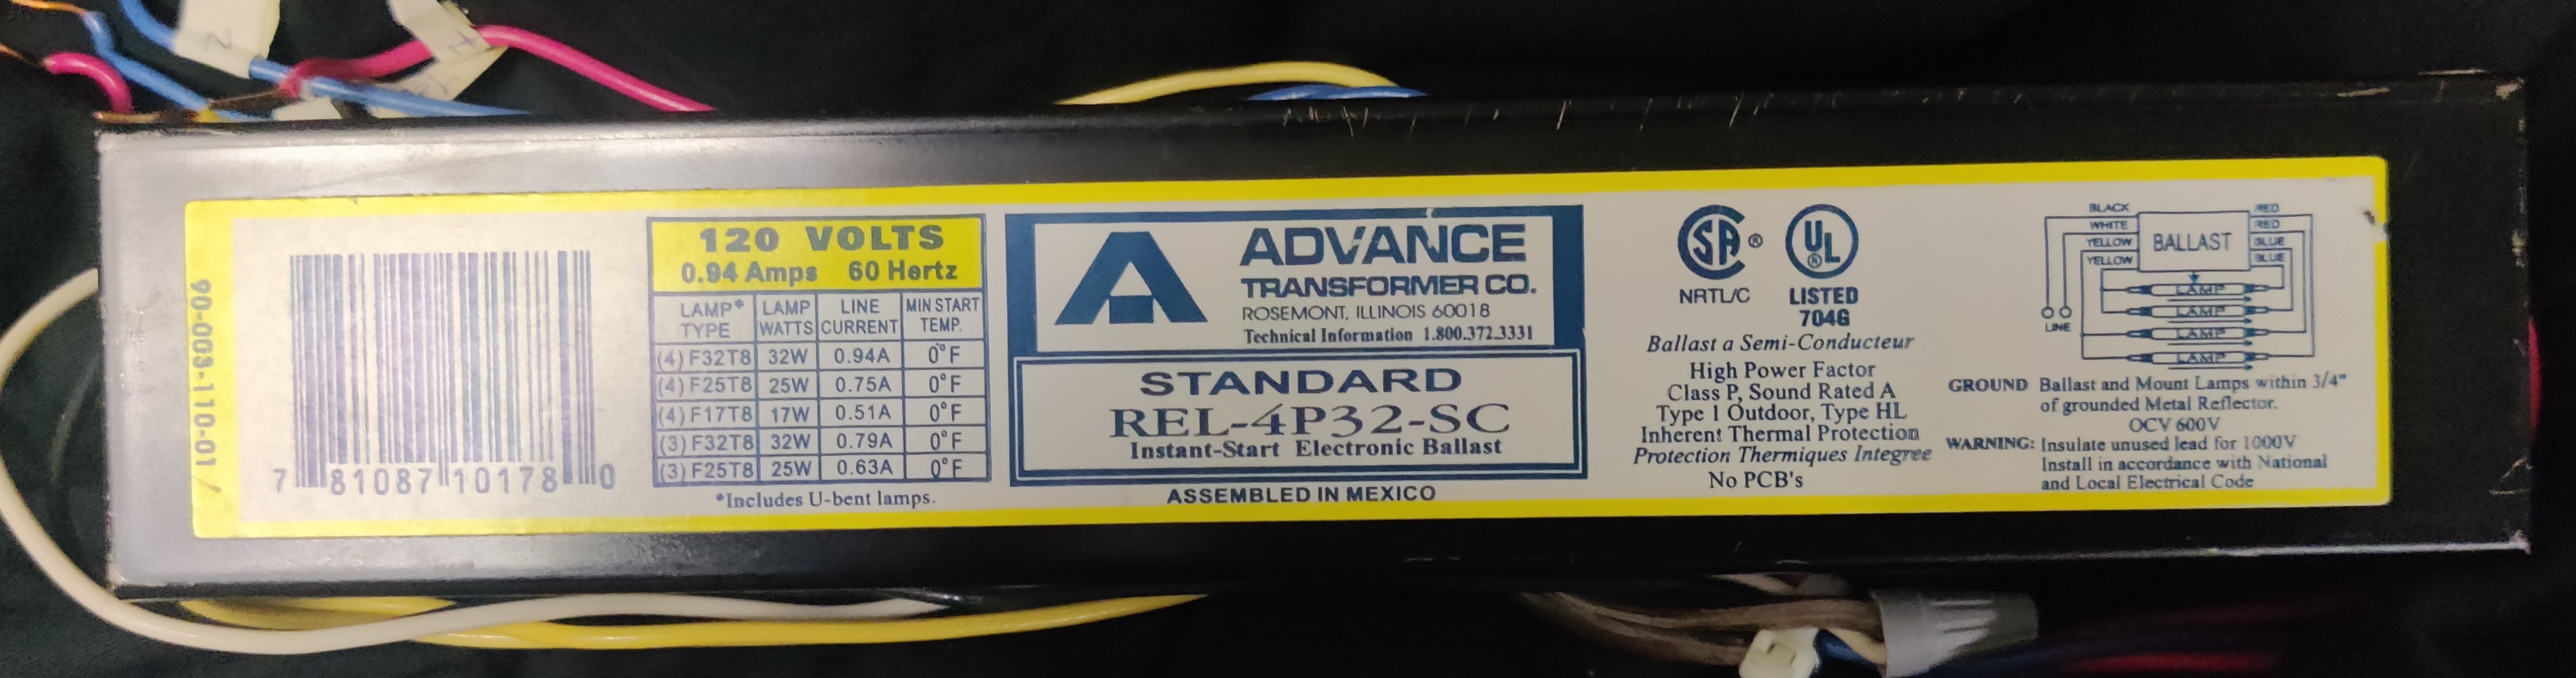
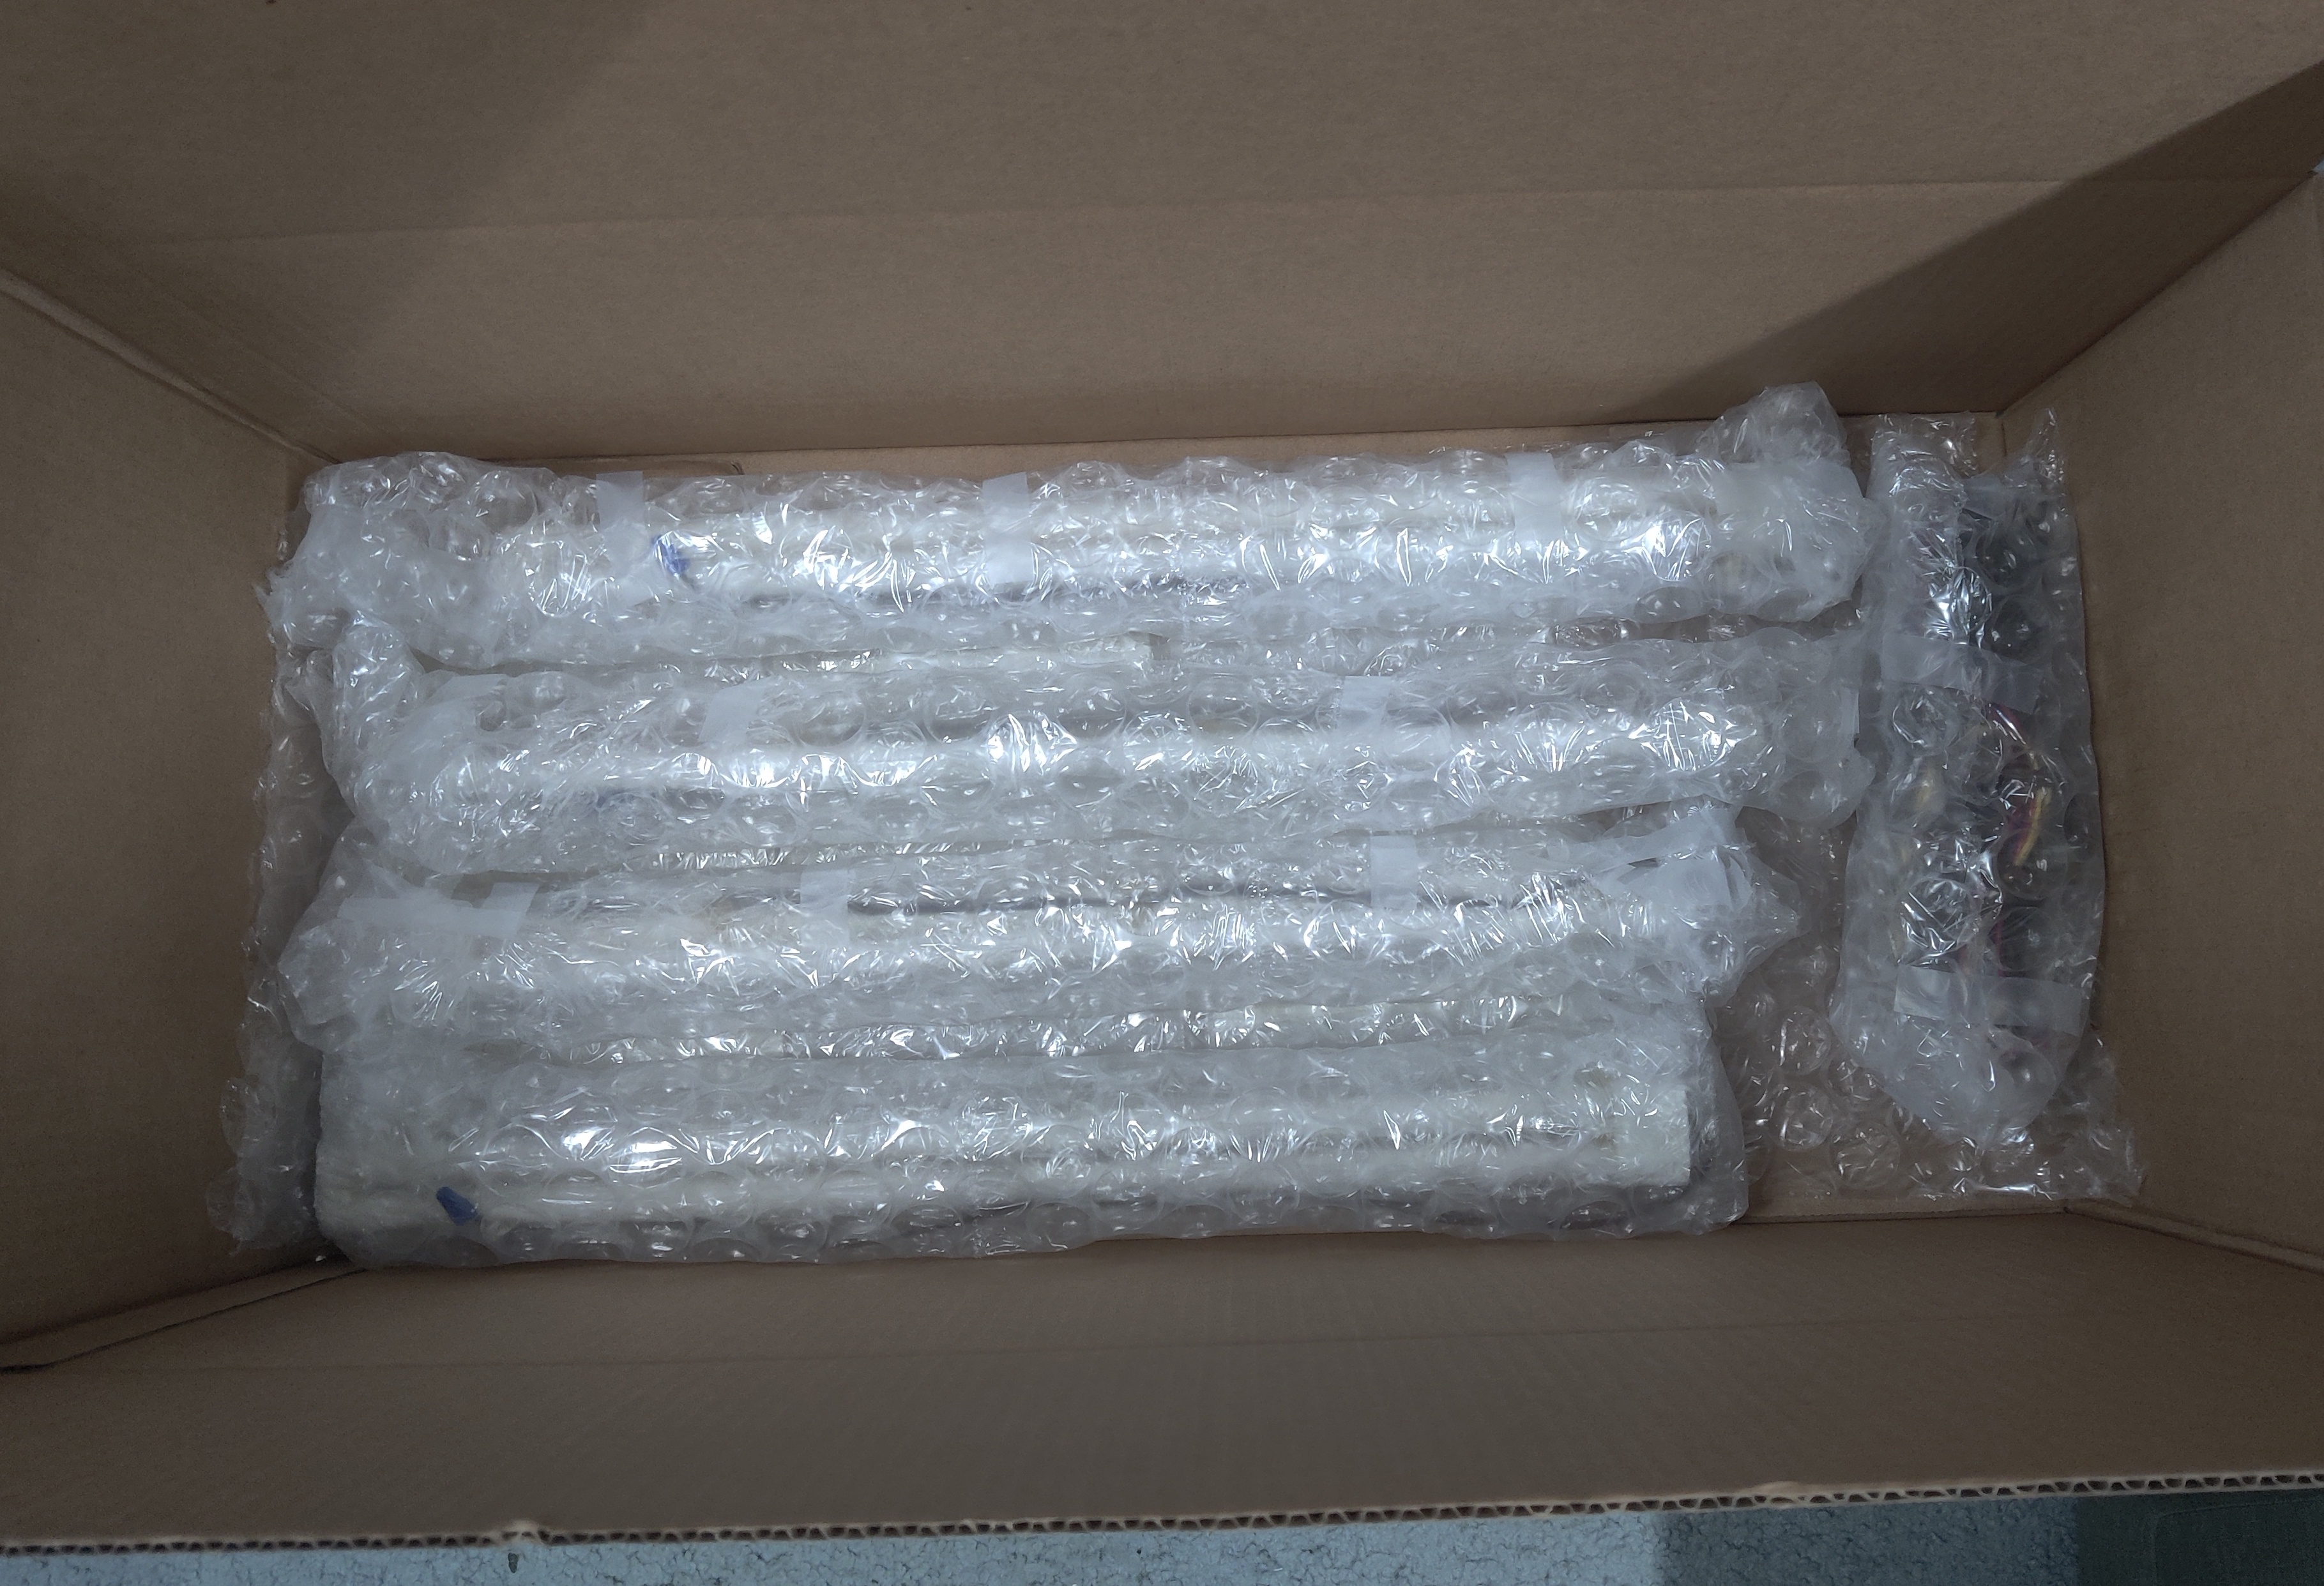
So first I yanked out all the lights, the attached ballast, and all the wiring. Luckily it was all just held in with zip ties and hot glue, much of which had already failed. The rest yielded quickly to the gentle application of force, and then I packed everything up in a box. I don't feel right just throwing this stuff away.
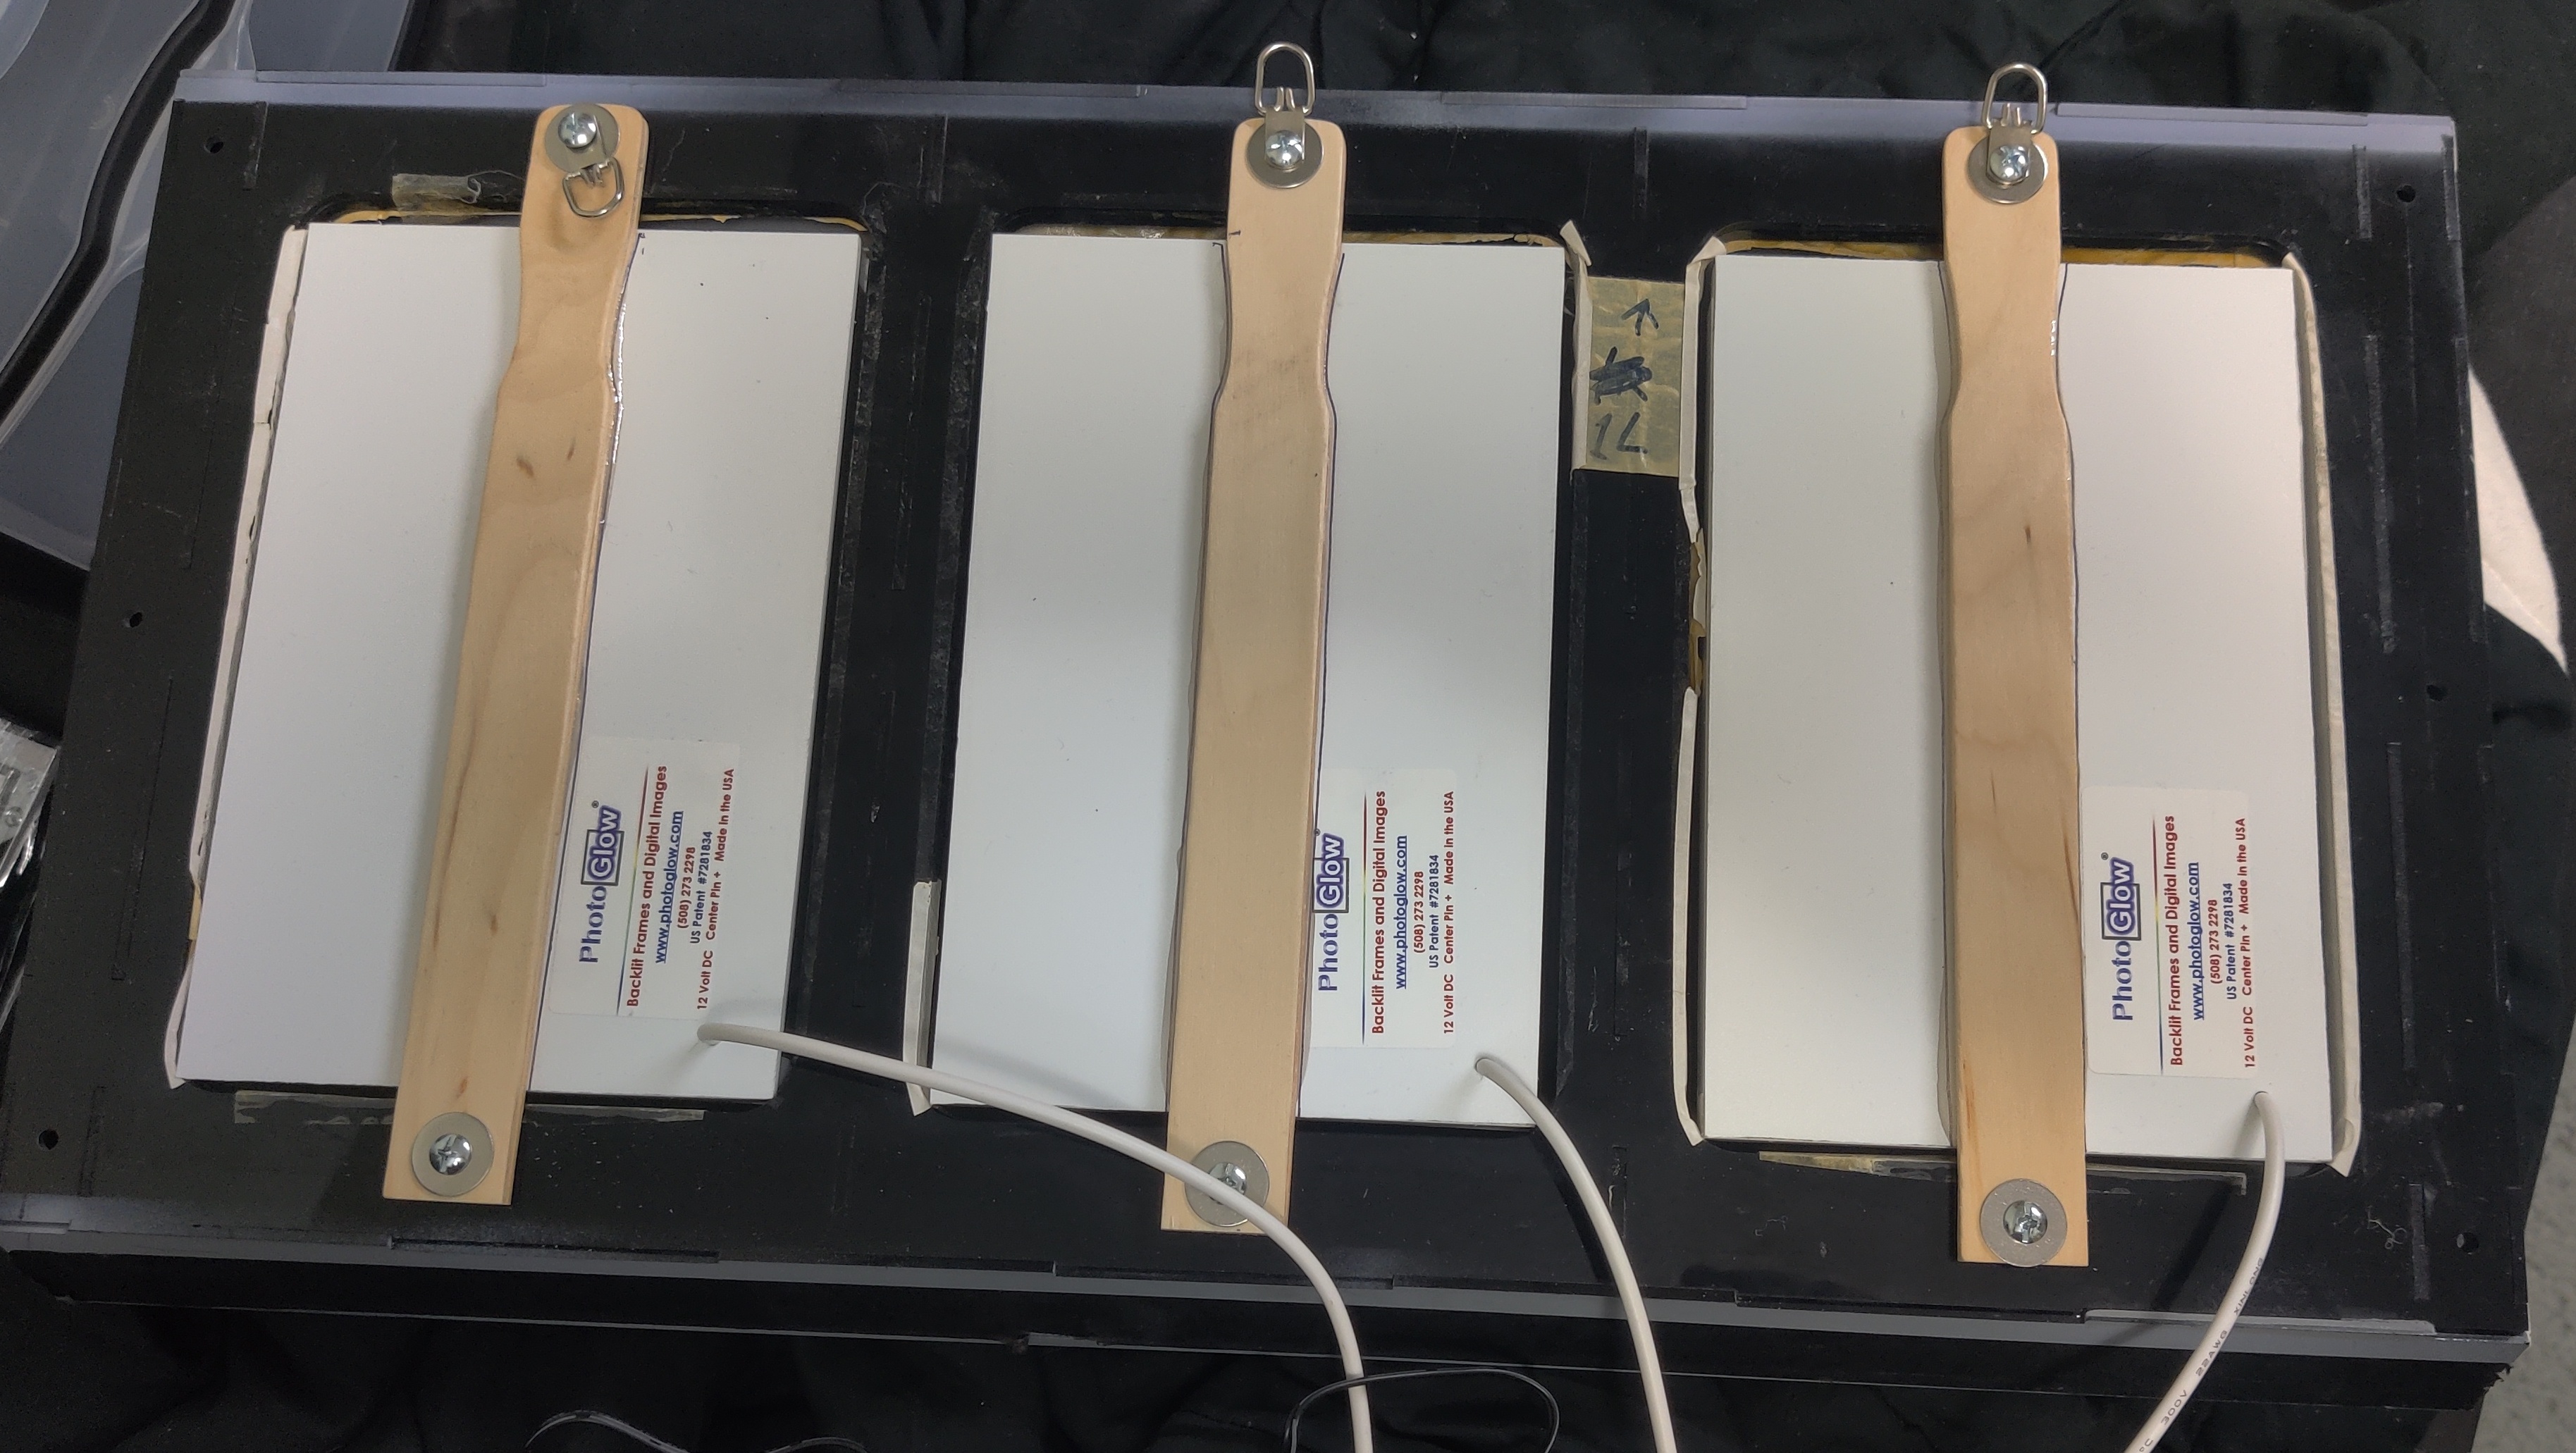
So now I need a new lighting solution. Luckily I'm already familiar with PhotoGlow, a lighting panel product intended for backlighting photographs. They're available in custom sizes, so I was able to order 3 that would fit perfectly the existing holes in the back of the unit.

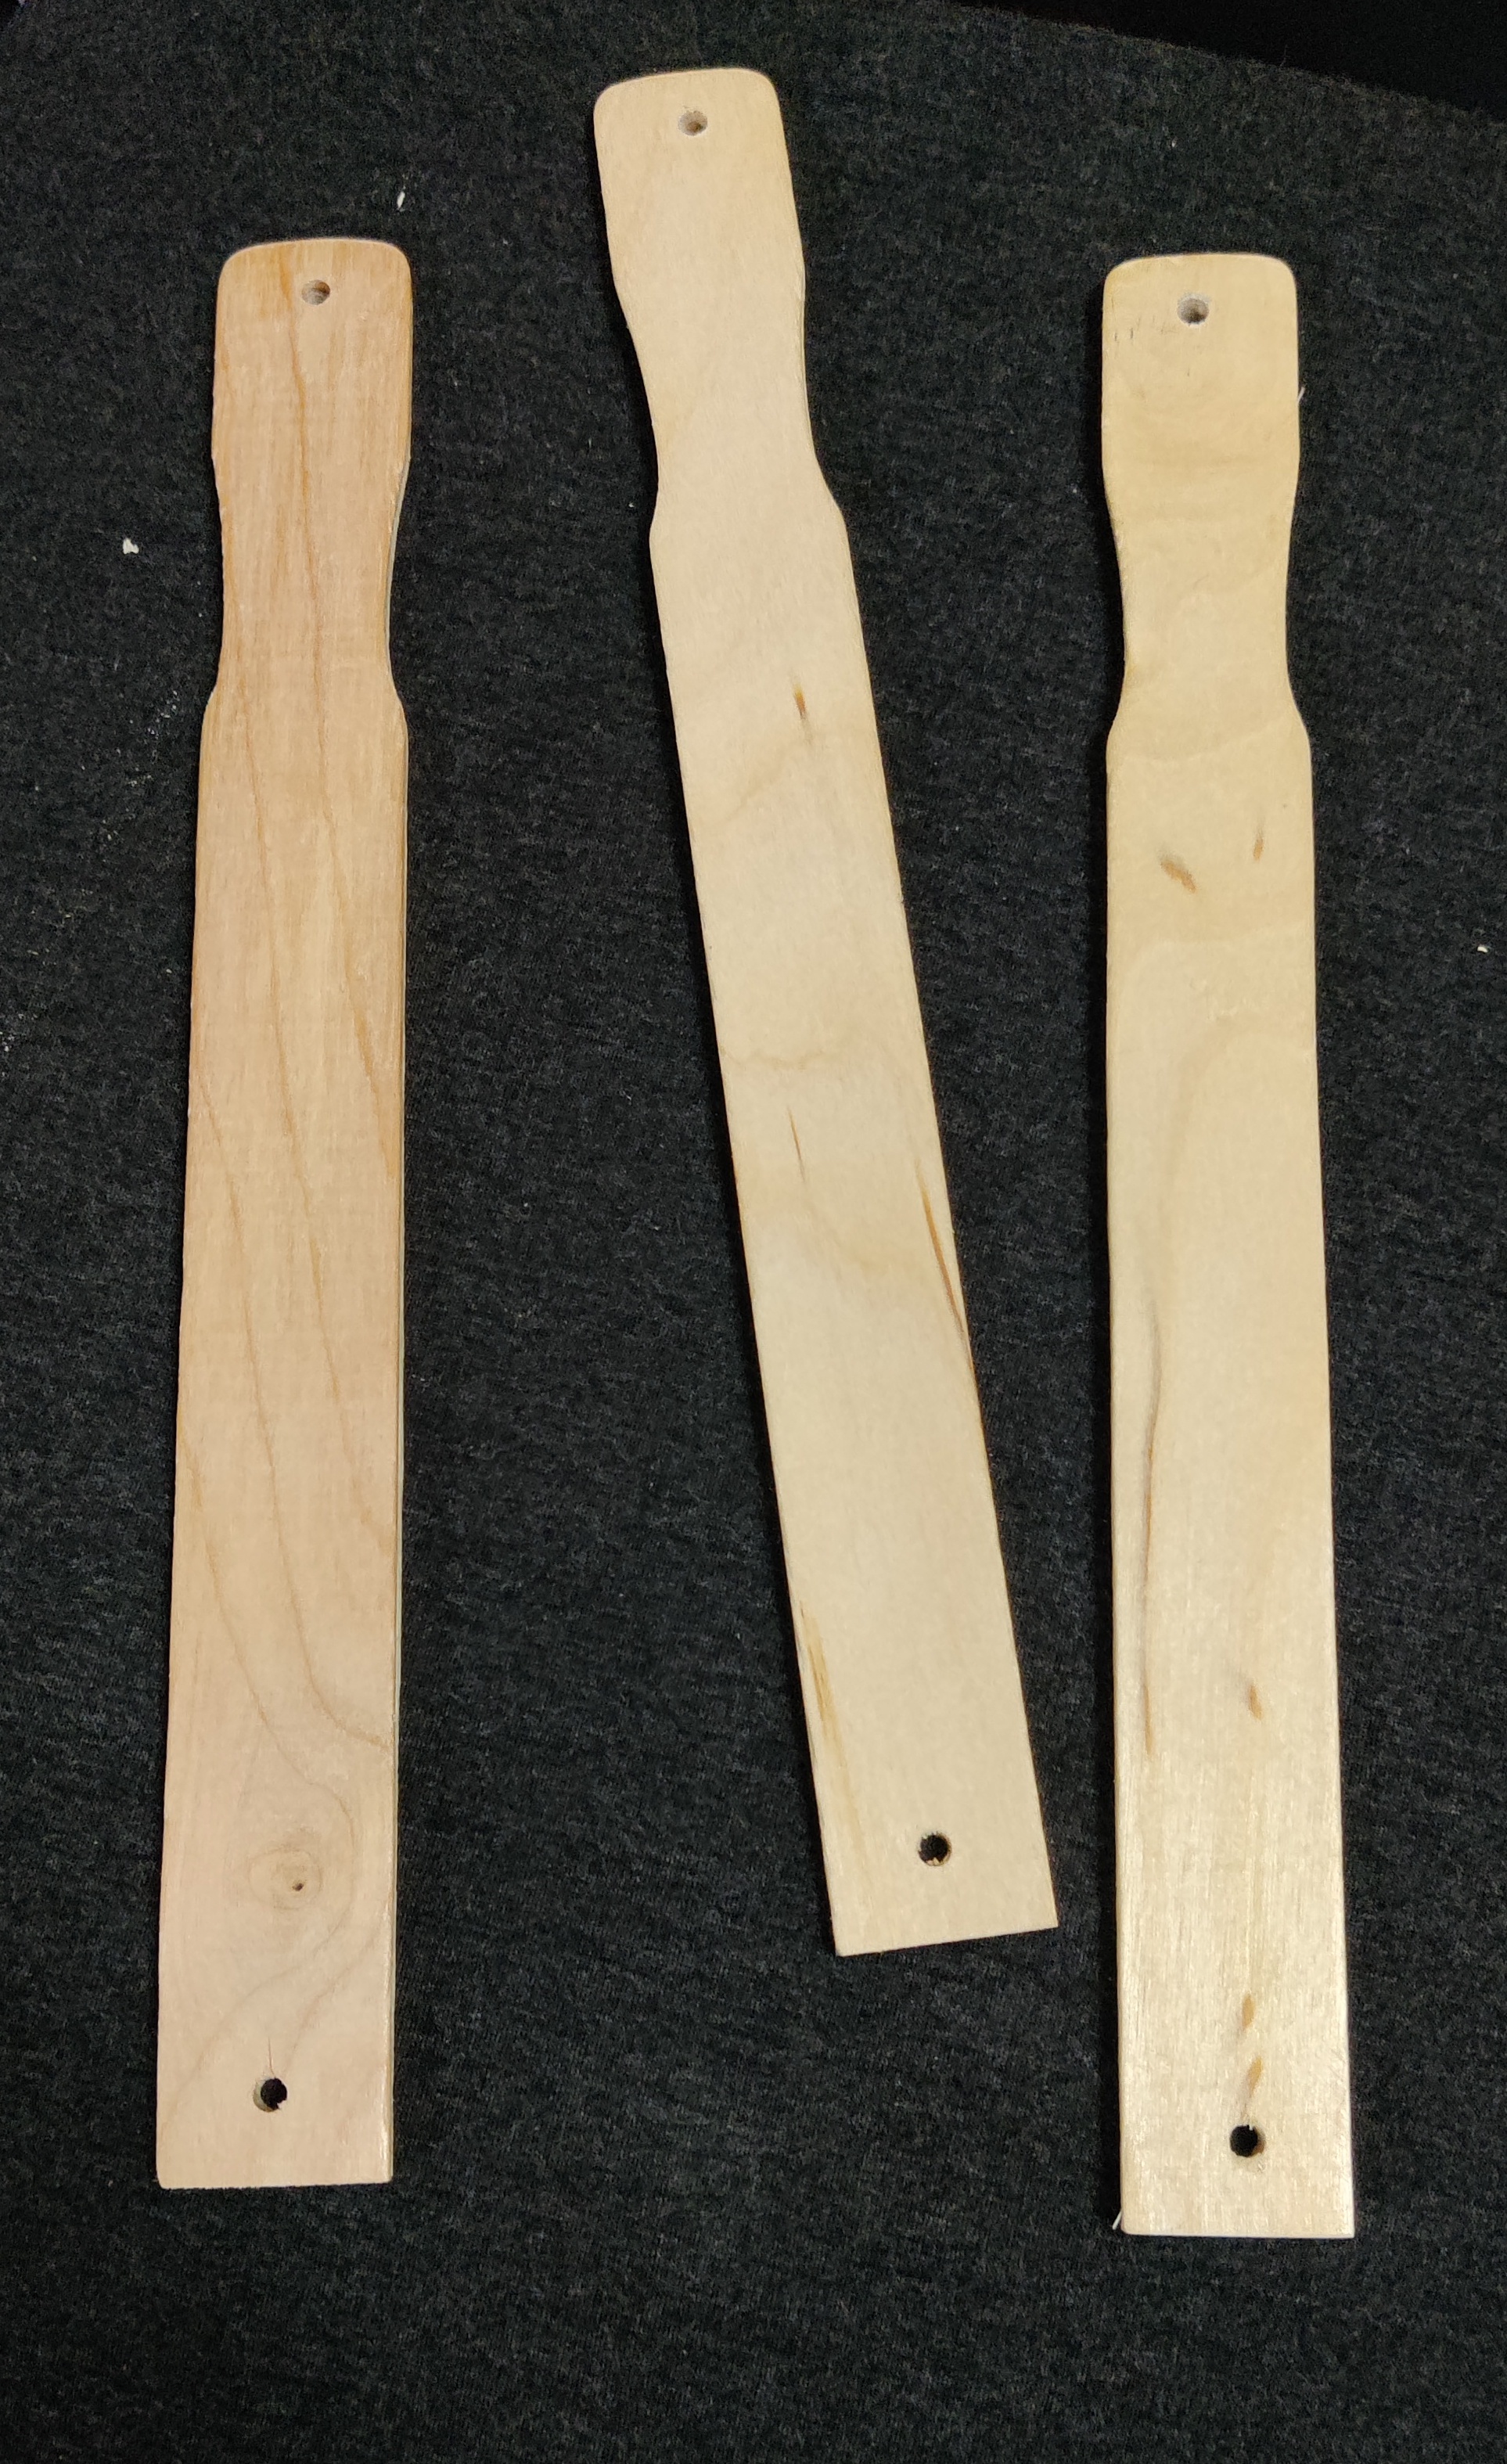
Next I grabbed some nearby lumber and fashioned 3 support rods. I drilled holes in them to line up with the existing threaded holes in the back of the dock. I assume those holes were originally used to mount it to some armature rig for filming, and they really came in very handy for me.
Then I just epoxied the wood to the back of the light panels. I considered some different mechanical connection possibilities, but they all seemed too complex and not really worth it.

Next I attached them all to the back using #10-32 machine screws and washers. I also added some hanging loops to the mounting points at the top. Originally I had intended to secure the screws in place with nyloc nuts, but it proved to be essentially impossible to hold the nuts in place from inside the prop. Eventually I decided that I was more at risk of damaging it by trying to install the nuts than I was from the screws somehow magically working their way loose without them, so I just left them off.
Finally, I hung it on the wall.
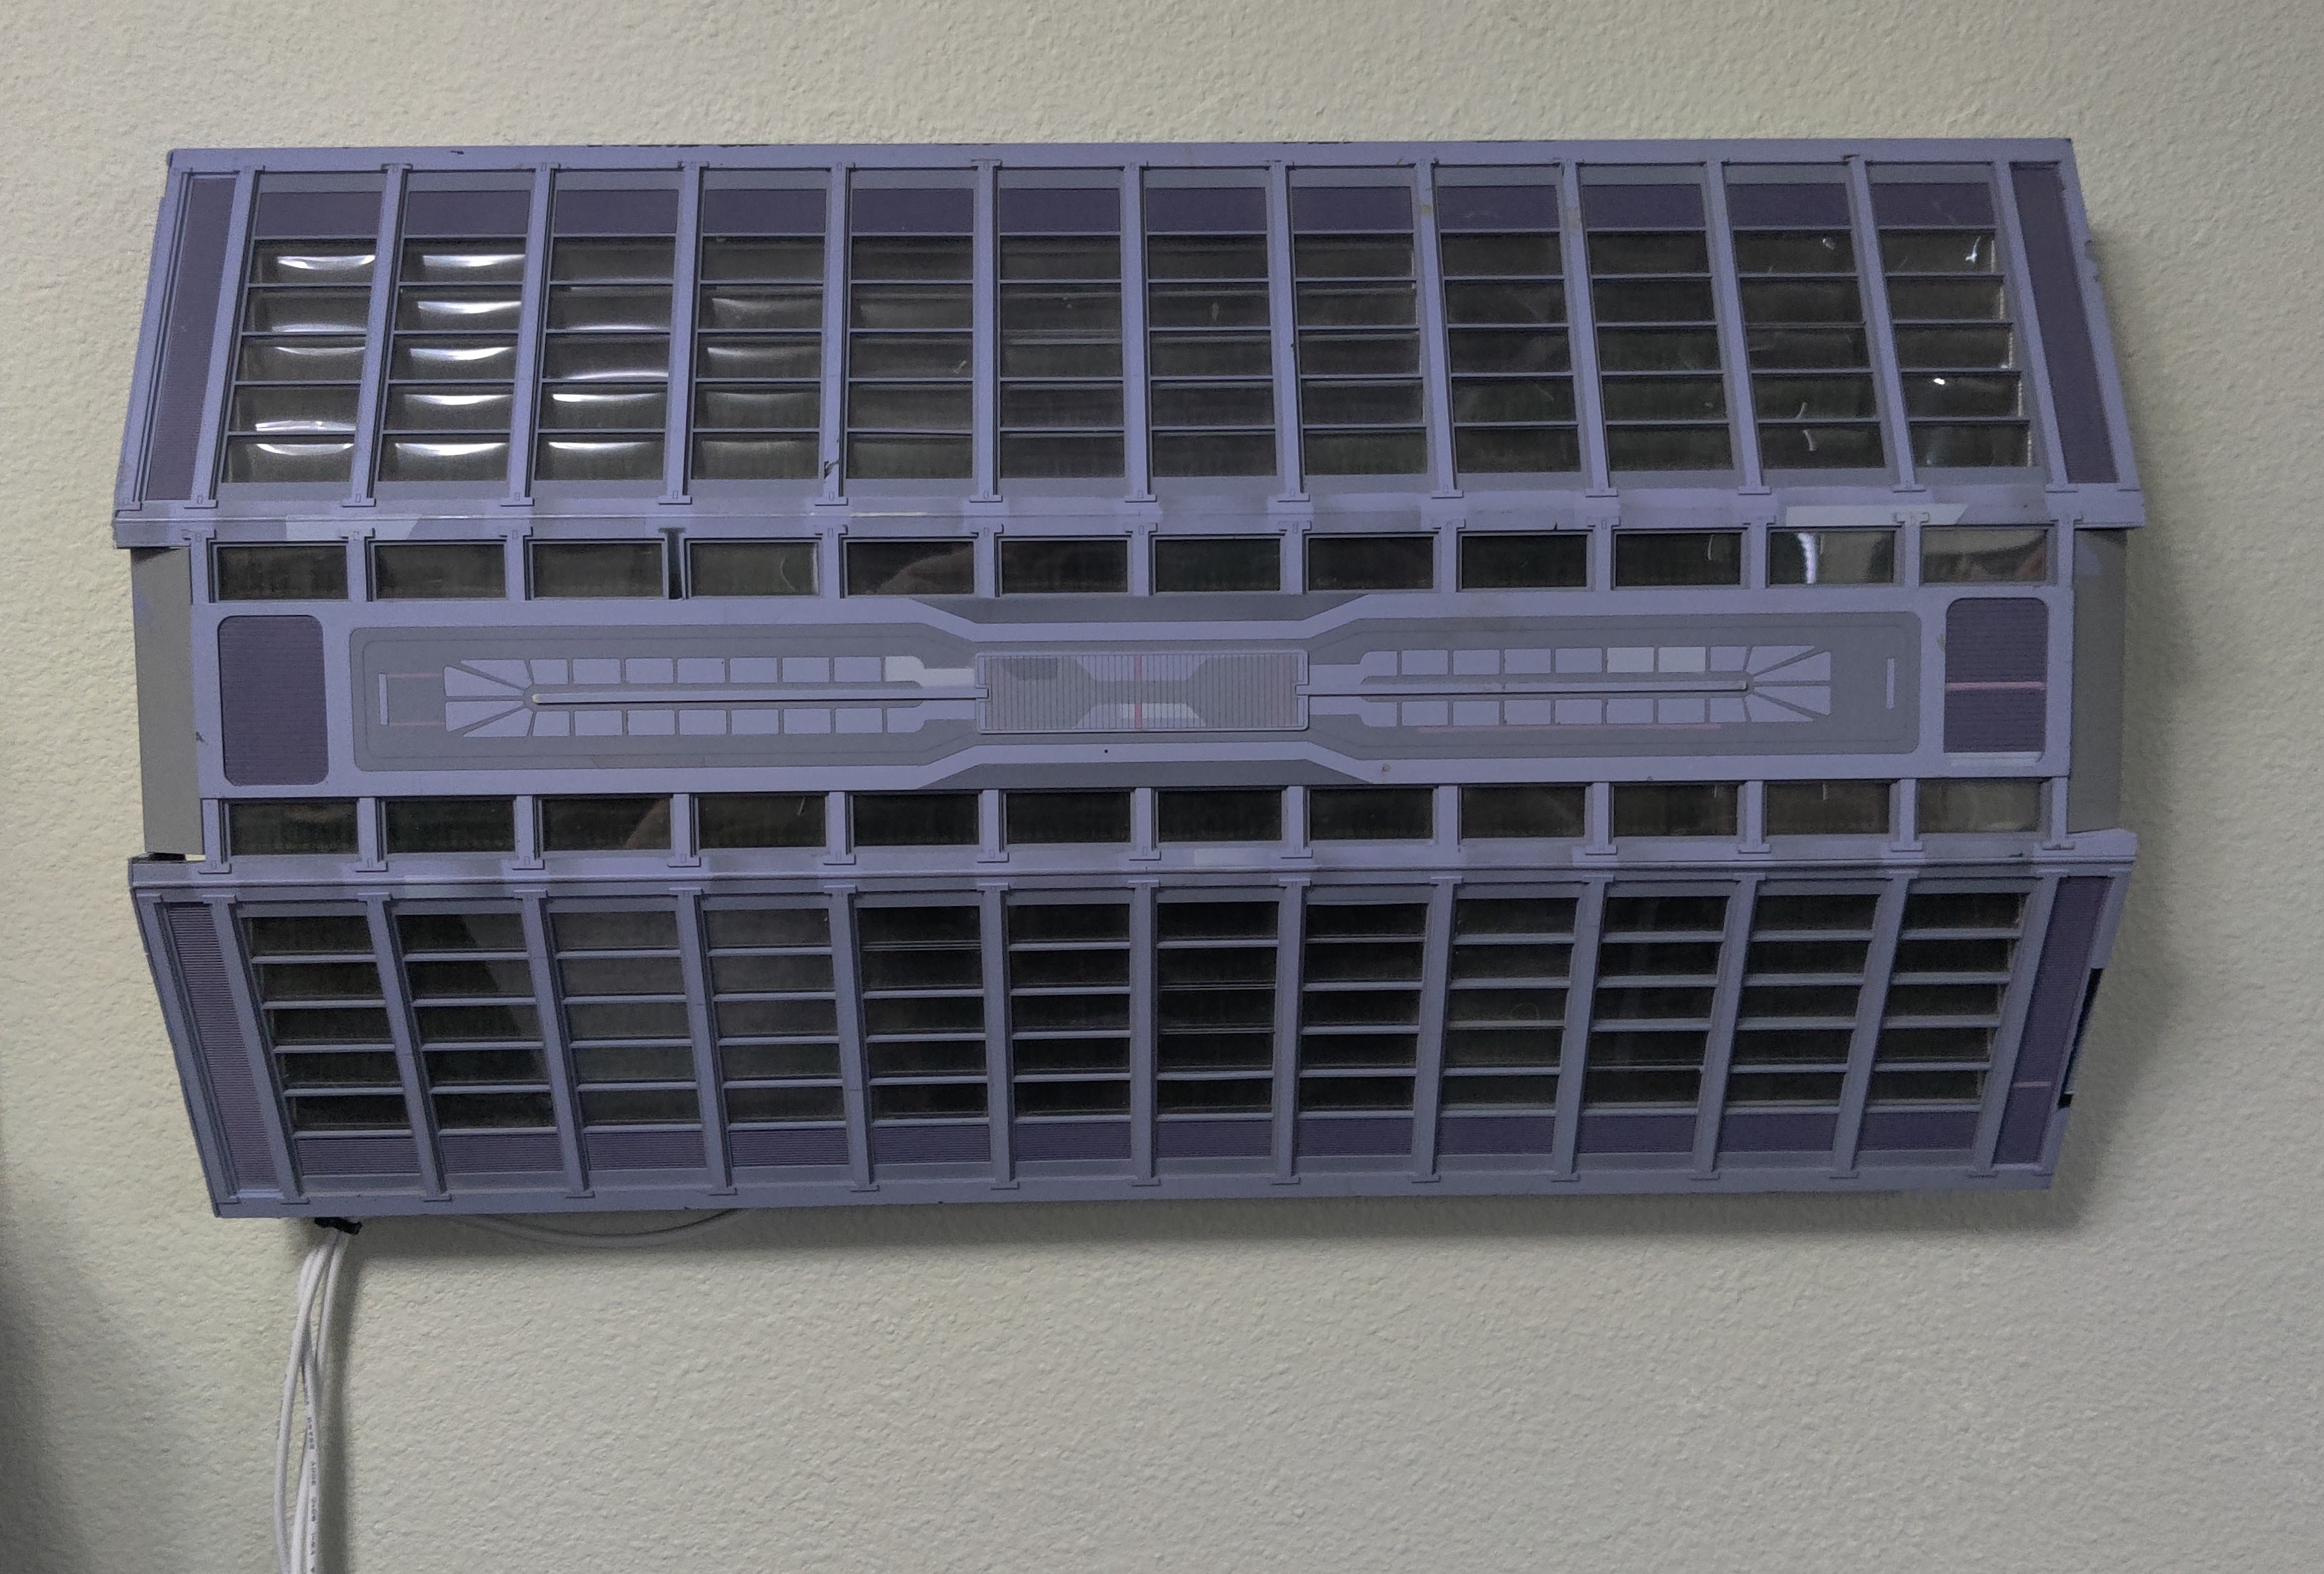
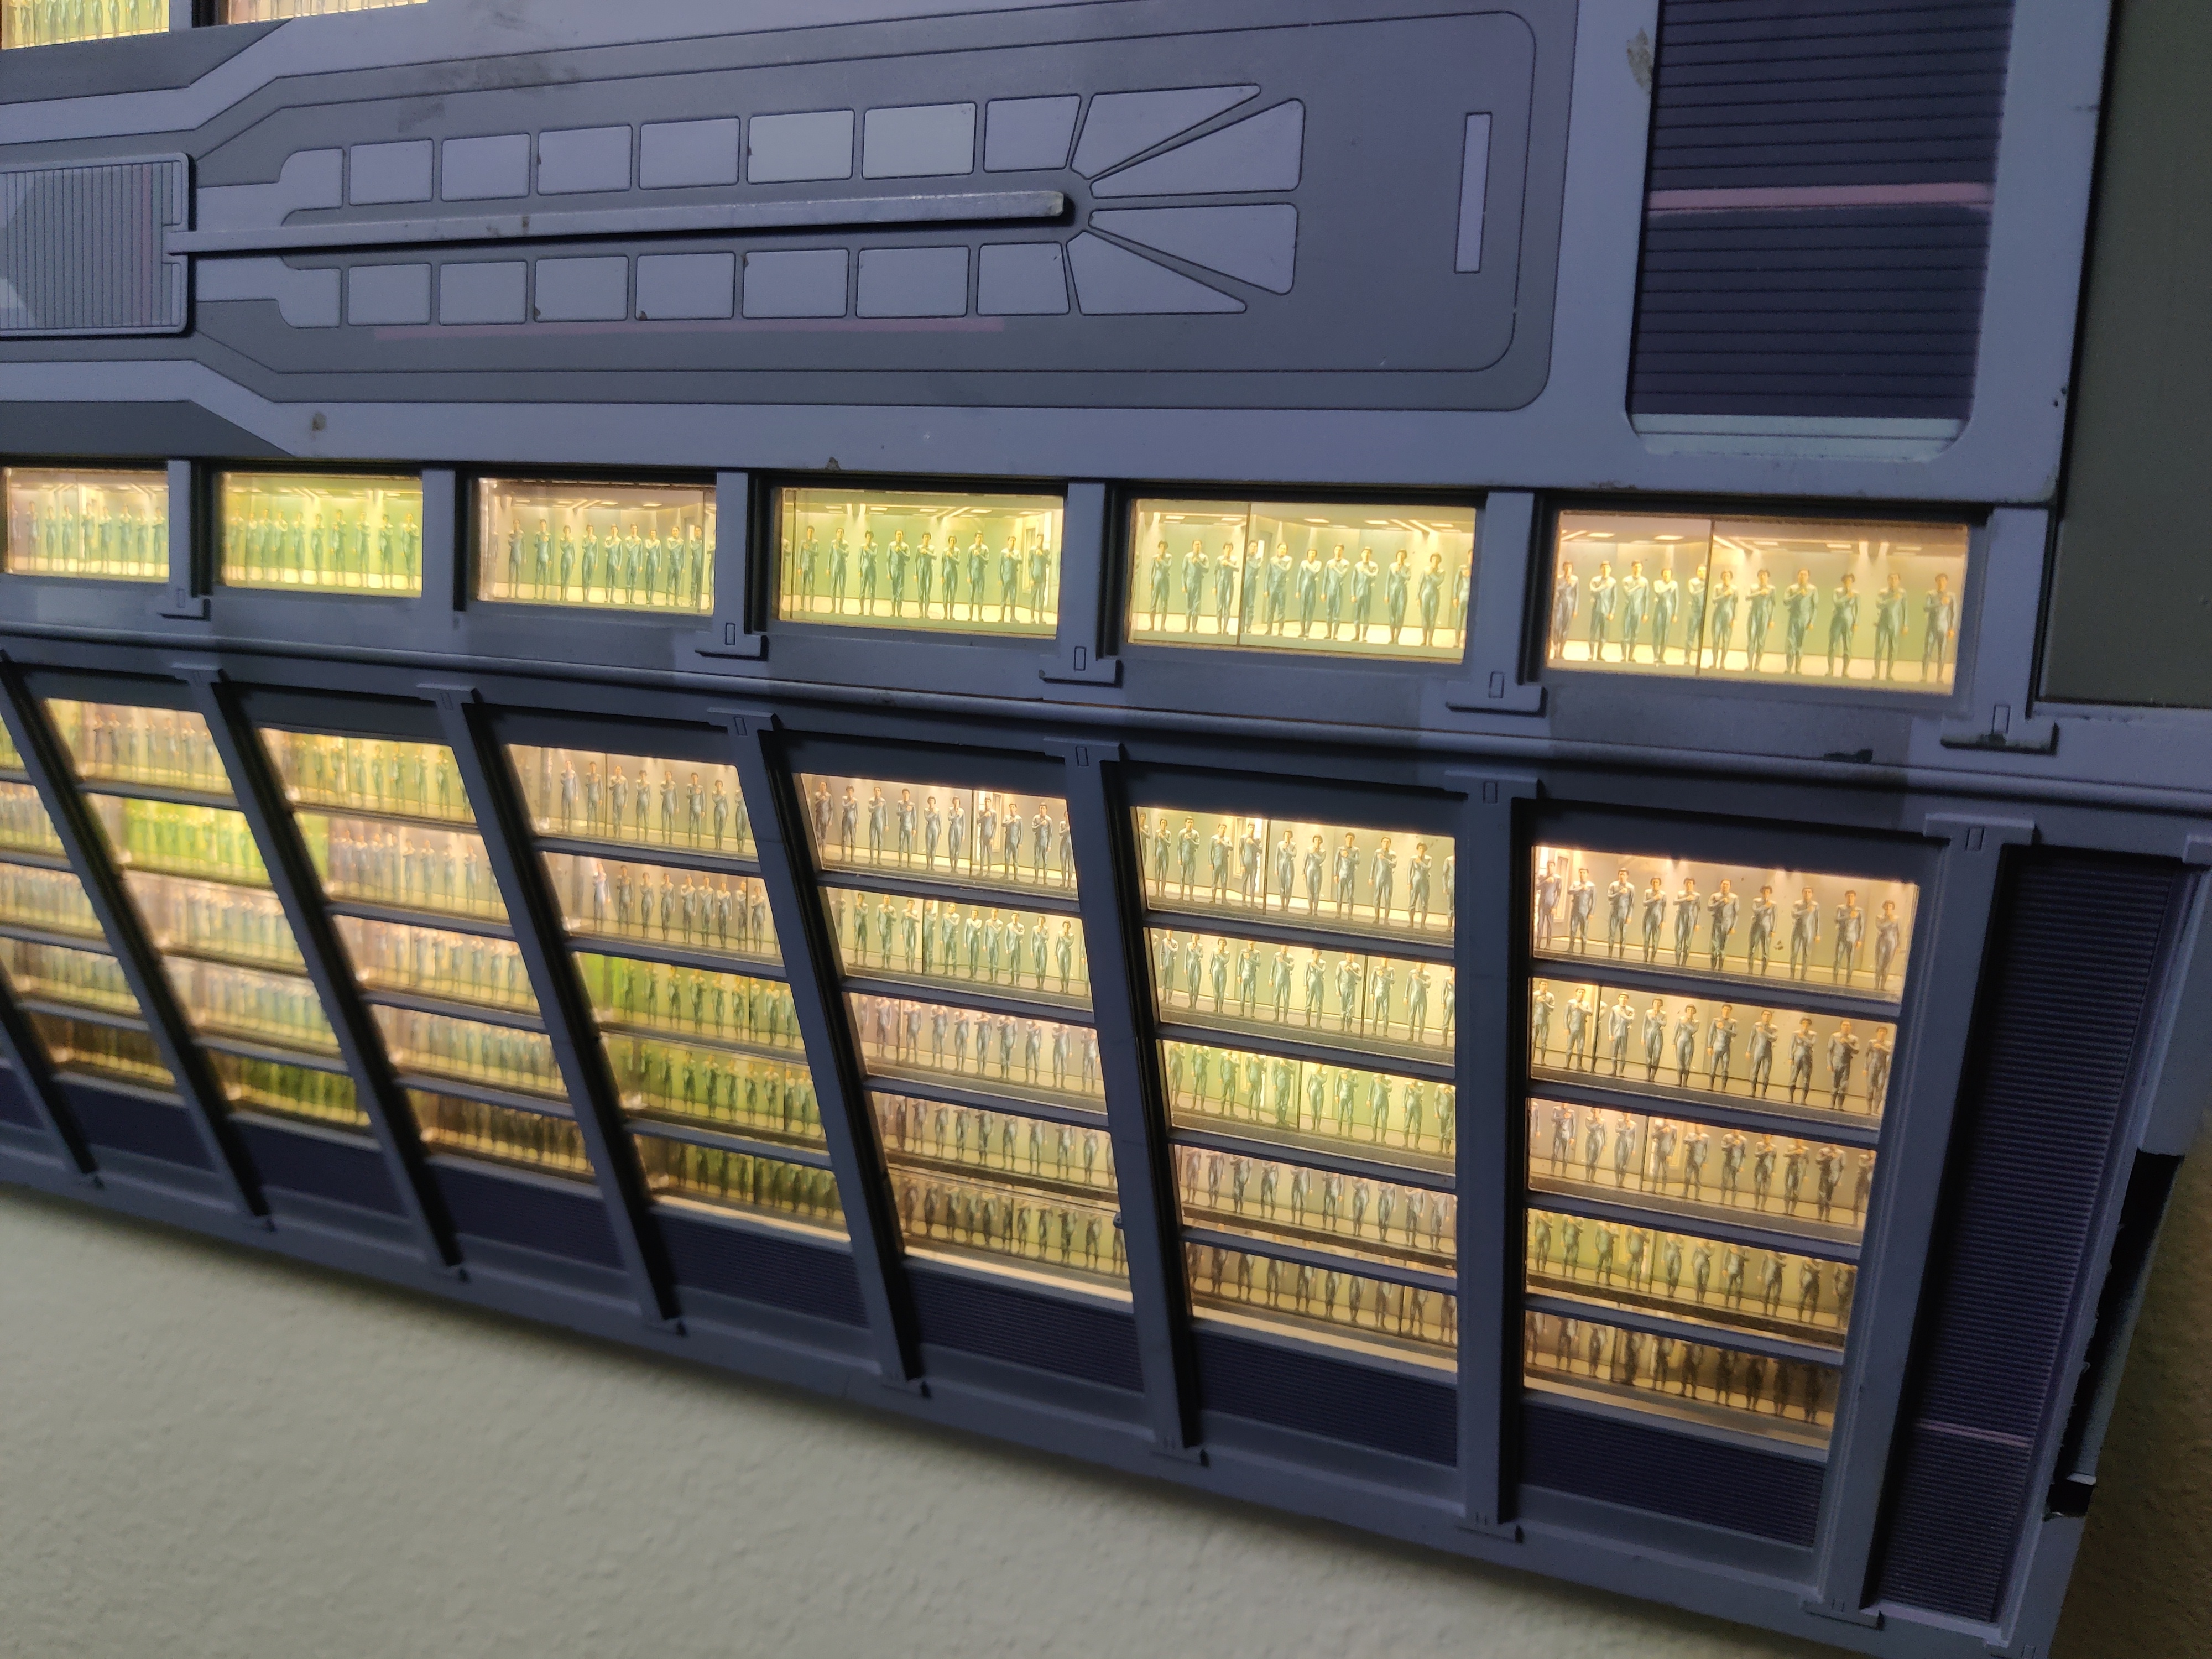
This is the detail that so drew me to this piece in the first place. When illuminated, you can see that all of the little windows in this dock are populated with saluting Thermians. If That these are photographs of the actors in full costume, printed on some platic film and installed on all 144 little windows.
It might seem like a small detail, but without it, this piece wouldn't really be interesting to me at all. Without them, you wouldn't know if this was supposed to be part of an enormous space station or the side of a car. Without them, this could be from almost any science fiction many. Without them, you wouldn't even know which way was up. They provide scale, orientation, and tons of context and make this just a super cool piece.

Back to my projects page.